
This article will give you the instructions on how to publish a blog created by EvernodeAI on a website built on the Jonah CMS.
Jonah Blog Article Publishing
For each Article you need one Subpage and one Content Block
The Subpage is the Article itself, and the Content Block is the Excerpt to the article on the Blog Page.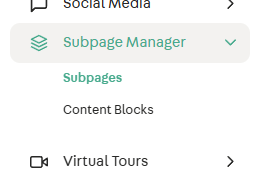
Subpage Setup:
There are a bunch of fields here, but not all are used for our article publishing. Here is a list of each field we need to fill:
- Unique URL
- Banner Image
- Mobile Banner
- Title
- Content
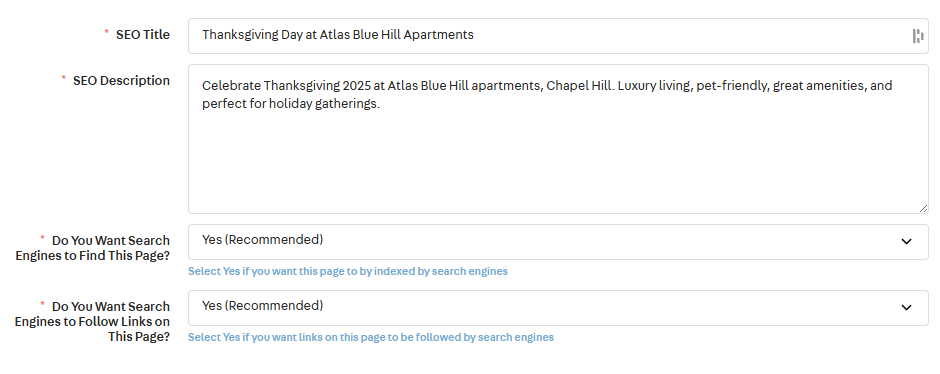
- SEO Title
- SEO Description
- Button One
- Title
- URL
- Target (Switch to “Same Window”)
- Image (Use however many related to how many images are within the content)
Field Breakdown:
Unique URL – The slug of the article goes here
Banner Image – This will be the Header Image on the article. It should be as close to 1800px X 700px as possible. You should also add Alt-text and Title Text here.

Mobile Image – The same as the Banner Image but for Mobile Devices. Size should be approximately 980px X 980px. You should also add Alt-text and Title Text here.
Title – This is the title of the article. Unfortunately, Jonah only allows 30 characters in this field, which is far shorter than most titles we generate. We will need to shorten the Title to fit this field. Any of the title leftover that we want to display can be the beginning H2 Header in the Content itself.

Content – The actual content of the article itself goes here. While this part is pretty self-explanatory, the one thing that needs to be explained is how to insert images. This is where to use the Image Buttons at the bottom of the page. Wherever you want an image displayed, use the Short code attached to the actual button. So, the first button short code is {image_1} (all lowercase) image_2} for the second image and so on. Once you upload the image you can add alt-text and title text to the image.

SEO Title – This is the title metadata for the page. Ensure it doesn’t go over character limitations.
SEO Description - This is the description metadata for the page. Ensure it doesn’t go over character limitations.
Button One – This will be the button at the very bottom of the article to return to the blog page. Here we just put the text “Return to Blog” and we add the slug of the blog page, which is “/p/blog”. And we change the target to “Same Window”

Content Block Setup:
Here is a list of each field we need to fill in for the Content Block:
- Parent Subpage
- Cover Image
- Title
- Subtitle
- Excerpt
- Button One
- Title
- URL
- Target (Change to “Same Window”)
- Settings
- Sort Order
Field Breakdown:
Parent Subpage – Choose the Main Blog page as the Parent Page (Here the Blog is called “Neighborhood Articles”

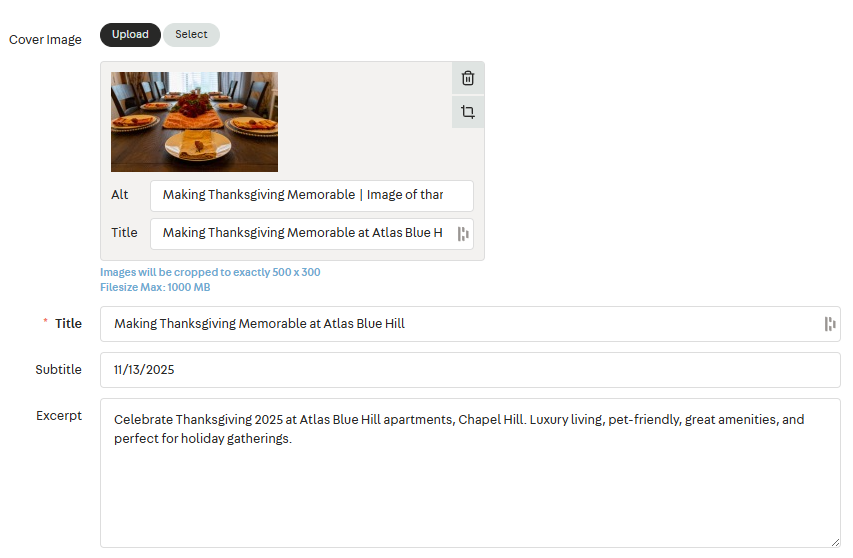
Cover Image – This is the Featured image of the article. You can usually just use the same that you used for the Banner Image on the Subpage.
Title – This is the title that will be displayed on the Article Excerpt. While this doesn’t have a character limitation like on the Subpage, check the Blog page after publishing to ensure the title length doesn’t skew the layout there.
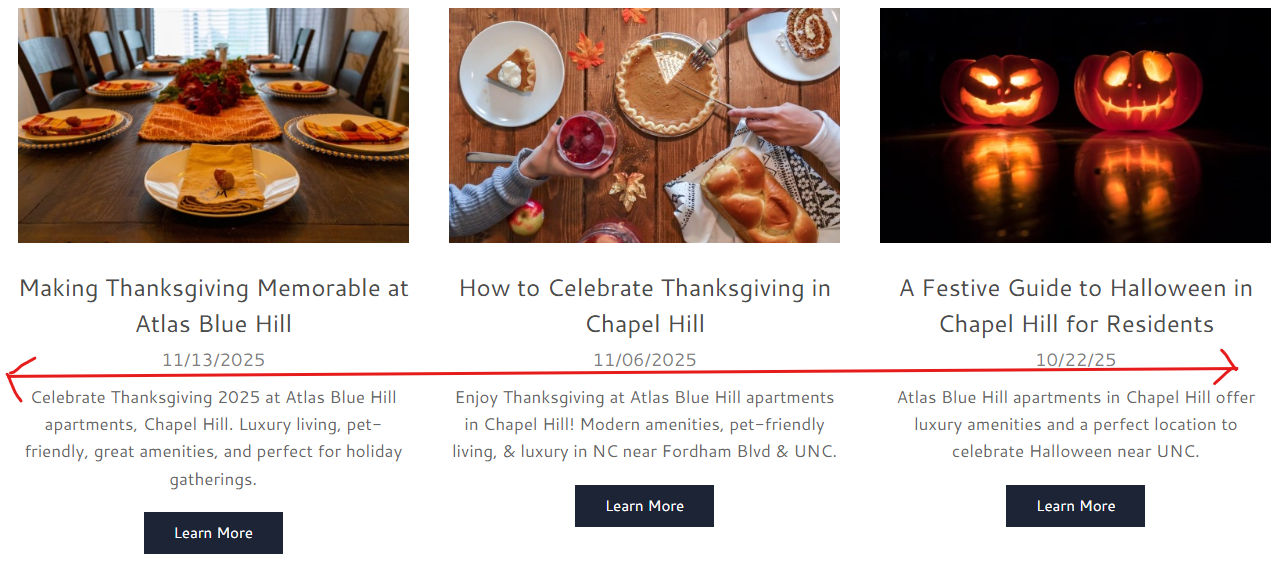
Subtitle – We use this section to add the Publish Date of the article.
Excerpt – It is best practice to use the Seo Description from the Subpage as the Excerpt here, which will display on the Main Blog Page.
Button One – This is the button to view the article. The Title is a CTA like “Learn More”, the URL is always prefixed by /p/ and whatever the article slug is and the Target should be set to “Same Window”.

Settings (Sort Order) – This controls the order that articles show up on the Main Blog Page. You need to look at the Content Block for the latest article published and make the Sort Order here 1 less then the latest Sort Order so that the newest article shows up 1st on the Blog Page.
